Steps to help us connect to your computer.
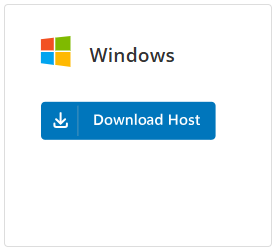
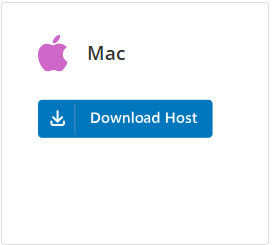
1. Select your computer
Select your computer, i.e. Windows or MAC. The remote access software will download.
2. Find and open the downloaded file.
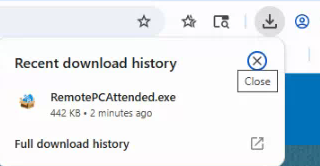
If you are using Google Chrome:
Look at the top of your browser window for the download file location. It will look similar to this image:
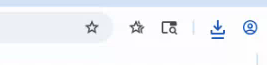
Click on the down arrow to reveal the downloaded file. You can either click directly on the file to start the installation or click on the folder next to the file name to open the Download folder.
If you are using Microsoft Edge:
Look at the top of your browser window for the download file location.

Click on this button to reveal the downloaded file.

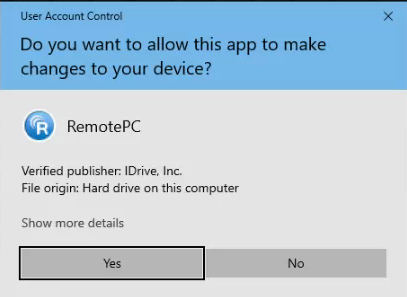
3. Install the downloaded software.
You will be prompted to allow the software to make changes to your computer. Choose Yes.
Once the installation is completed, you will be presented with a 9-digit code. Provide the number to the tech connecting to your computer.

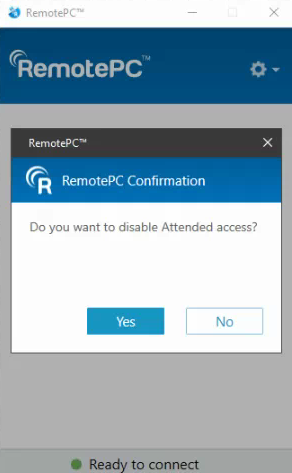
4. After your session
After your session with Remote Support, you can click the Attended RemotePC app close. When asked "Do you want to disable Attended access?", choose Yes. This will leave the icon on your desktop for future remote sessions.
Please note: The 9-digit code changes each time you launch the software. No one will have unauthorized access or be able to connect to your computer without the correct number.
Other Remote Support Options
If you have access to your email on the computer, the remote technician can email you a link to download a "Quick Connect".
- Click on the email link. You are informed: You have been invited to join a "Quick Connect" session.
- Click Connect.
- Your web browser will indicate a file has been downloaded. The file name should begin with "Quick Connect." Click on the downloaded file to install it.
- If you have notifications turned ON, you will receive a notification that "You have successfully joined. Waiting for the technician to connect".
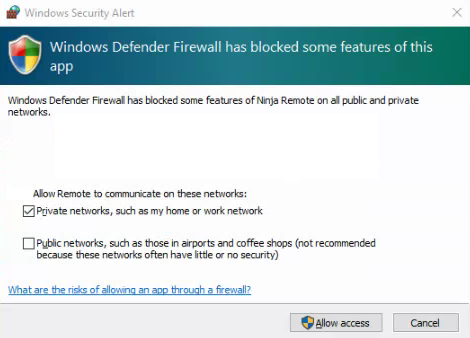
- You may also be prompted to allow firewall access.